2020 Terminal Setup
7/10/2020

✏️ Summary
Terminal configurations may not seem like the biggest deal, but for developers, a system’s terminal is an essential part of every day life. Over the years, this is a part of a system that I’m constantly tweaking for my needs and tastes. My current setup is geared towards having a simple configuration that is lean and clean. This write-up will go over the basics of setting up a terminal that will look good and have many capabilities under the hood.
🧑💻 Developer Environment overview
Just FYI, this was written specifically for Ubuntu 20.04. Although, this configuration should be pretty similar for most flavors of Linux and macOS. Just make sure to review the instructions from the projects utilized during the process.
🧗♂️Guide
Shell
I’ve never really had much of an opinion of Zsh vs. BASH vs. Whatever. However, recently, macOS changed its default shell to Zsh. Because I use both Linux and macOS daily, I decided to just switch to Zsh for everything for consistency. ZSH itself pulls features from bash, Zsh, TCSH, and has many of its own awesome features.
Update local packages
First, let’s update our local packages to make sure our system and software repositories are all up to date.
sudo apt-get updatesudo apt upgradeInstall, Configure, and Enable Zsh
Now we will start setting up Zsh by installing it and adding the Zsh configuration to our home directory.
sudo apt install zshtouch ~/.zshrcConfigure ~/.zshrc
After that ZSH is installed and ~/.zshrc has been created, we can configure it using the following baseline. For now, this just enables some basic shell history.
# Set ZSH options# Options details:# http://zsh.sourceforge.net/Doc/Release/Options.html#index-HISTIGNOREALLDUPS# http://zsh.sourceforge.net/Doc/Release/Options.html#index-SHAREHISTORY
setopt histignorealldups sharehistory
# Keep 1000 lines of history within the shell and save it to ~/.zsh_history:HISTSIZE=1000SAVEHIST=1000HISTFILE=~/.zsh_history
Change shell to Zsh
Now that we have Zsh configured, let’s set it as our main shell.
chsh -s $(which zsh)After we have changed Zsh to our main shell, an easy way to enable this system-wide is just log in and out of our system.
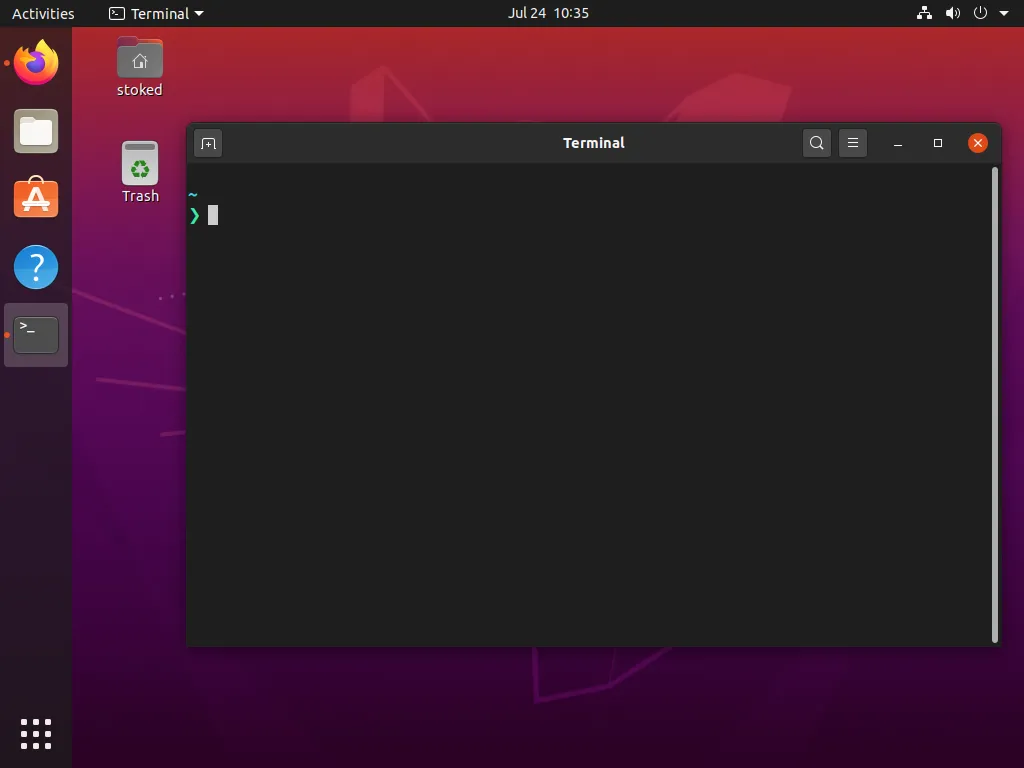
We should have gone from
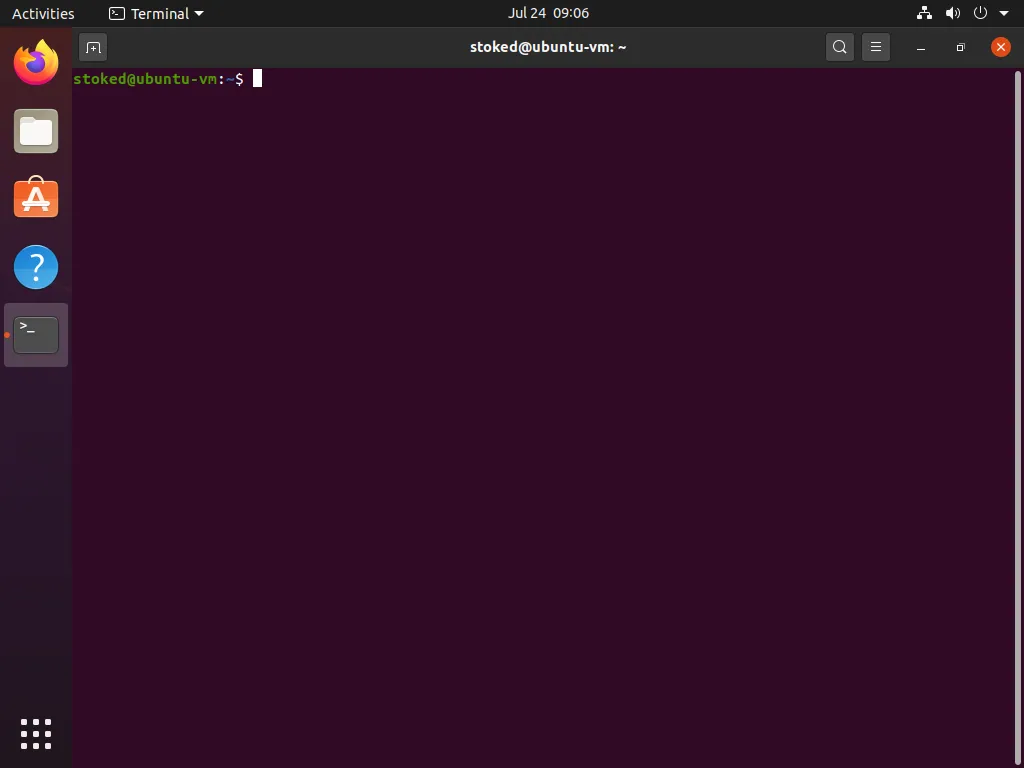
to
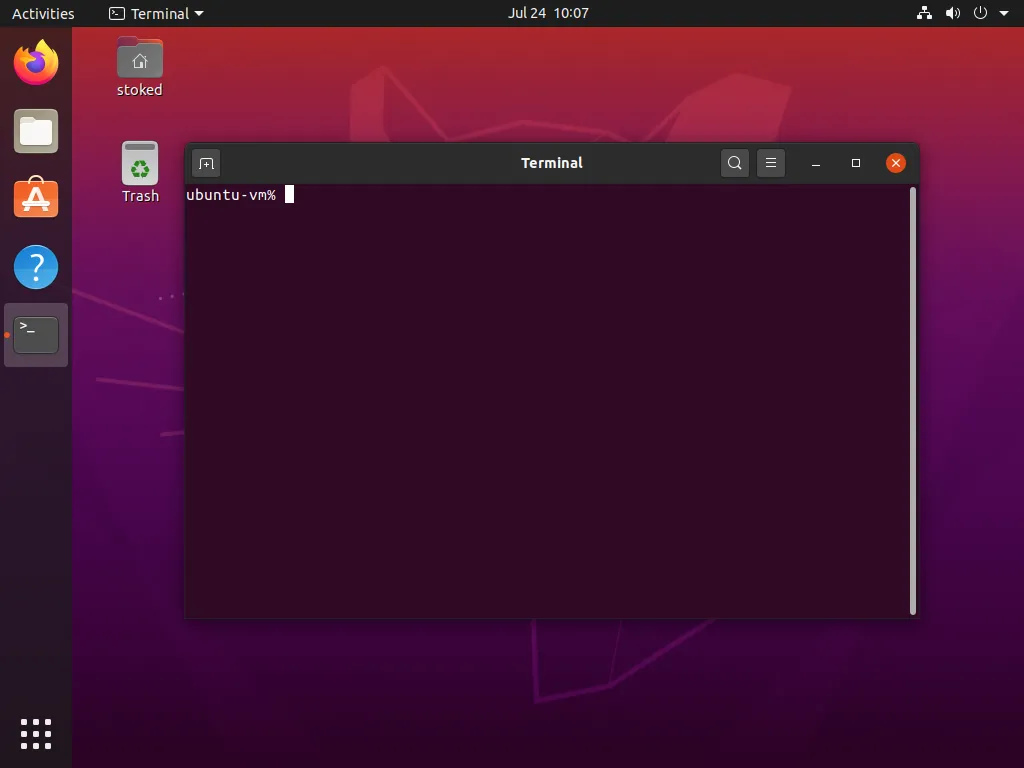
So far, it’s actually not looking so great, but that will change as we keep going down this 🐇 hole.
Level up our font
Next, let’s get setup with a new font that supports icons. Head over to https://www.nerdfonts.com. Go to their download section to grab the FiraCode Nerd Font. Once it’s on the box, here is a way to install it system-wide.
# unzip the fonts into a directoryunzip FiraCode.zip -d FiraCode
# navigate into that directorycd FiraCode
# move those fonts so they can be shared system widesudo mv * /usr/local/share/fonts
# update the font cache so your system loads up the new fontsfc-cache -f -v
Style out your theme
A handy project that lets you easily pick themes for your shell is http://mayccoll.github.io/Gogh/. Follow their install instructions, which will run a bash script that will do a guided installation of the theme of your choice.
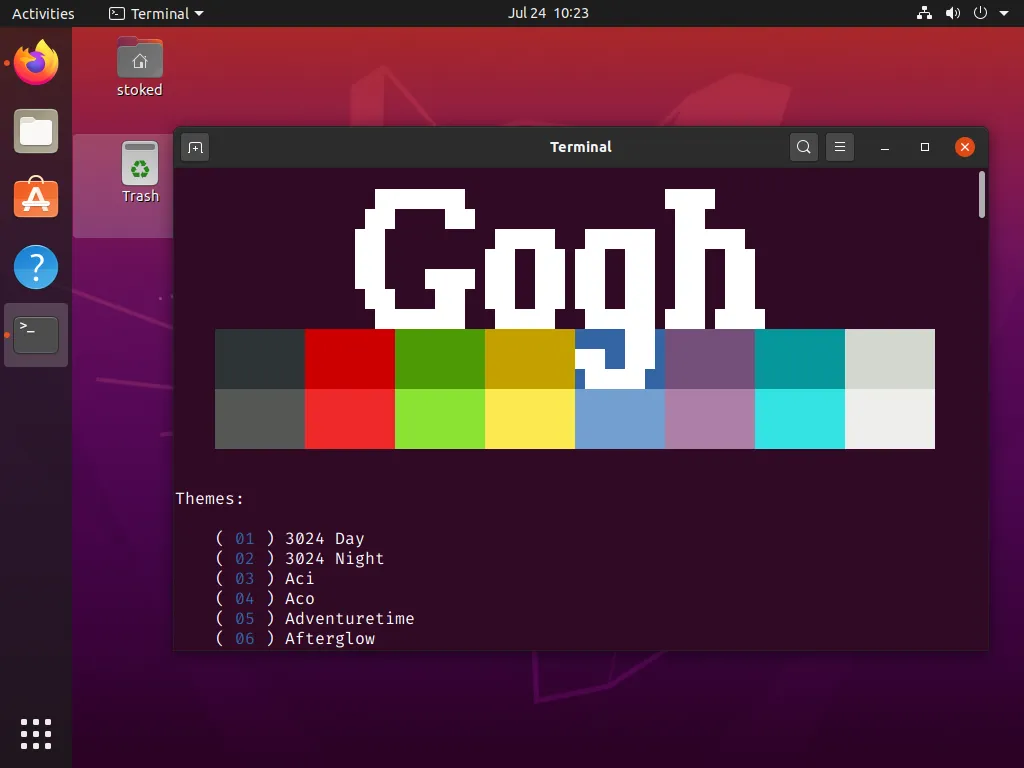
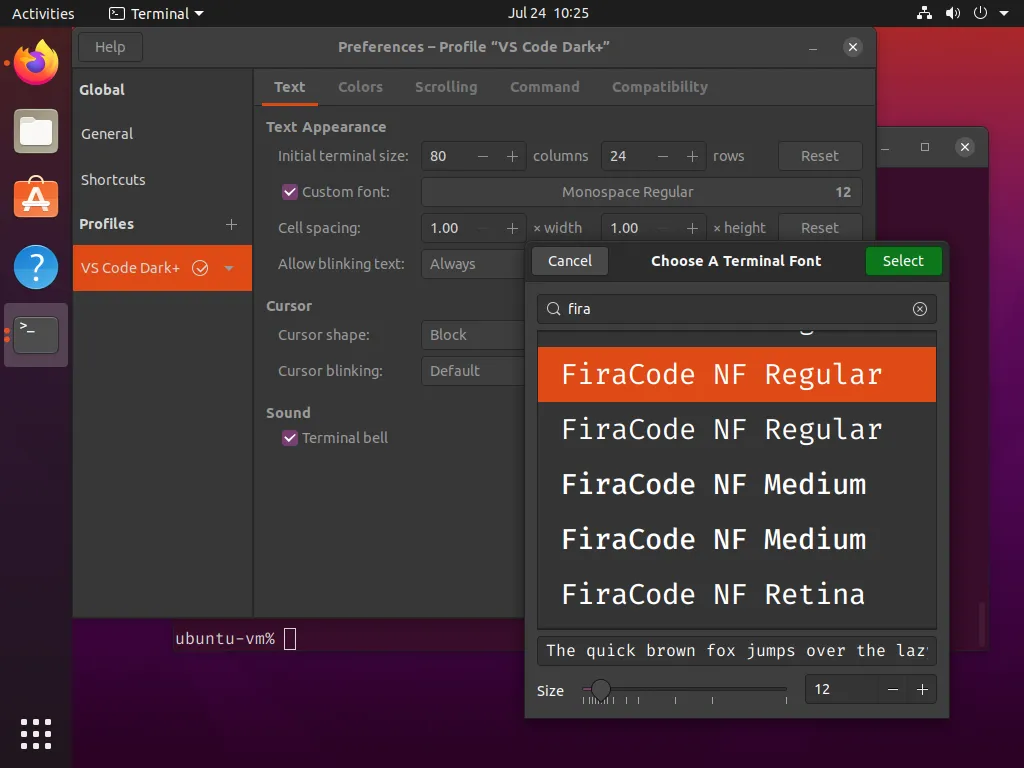
I generally keep all of my configurations all aligned, so I picked the VS Code Dark Plus theme.
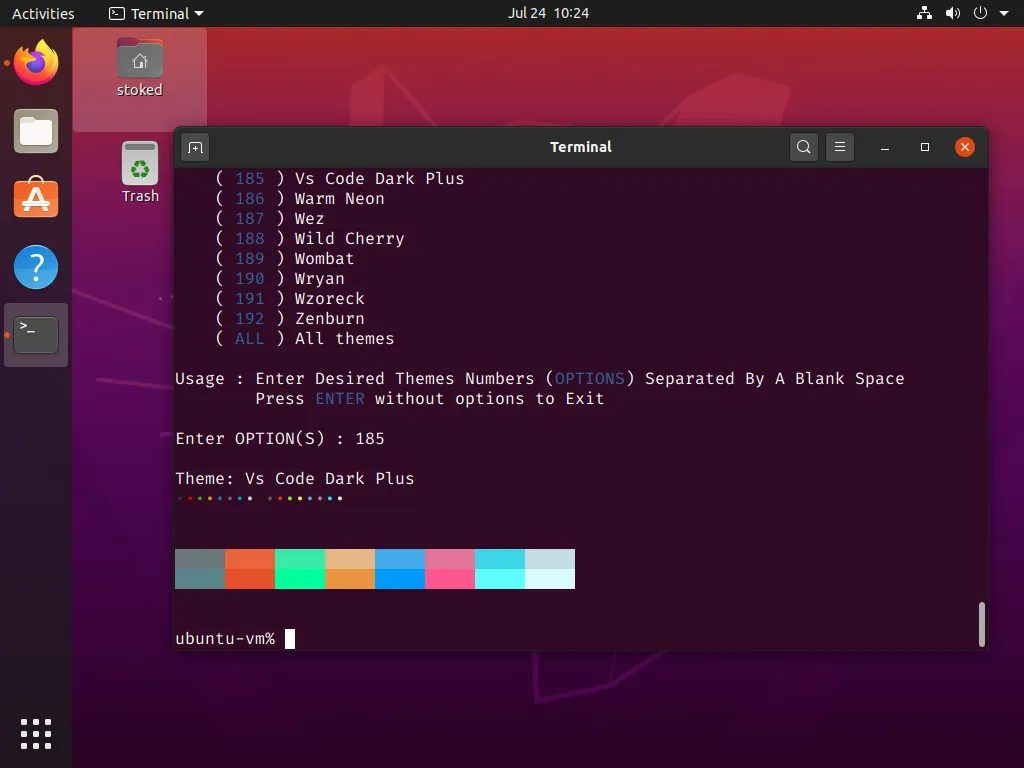
After a theme is installed, http://mayccoll.github.io/Gogh/ will automatically set it as the default theme for the system. Next to our FiraCode which we previously installed, just configure the settings in the terminal preferences.
Next we’re gonna blast into space
Now that we have a nice theme and fonts installed, we can set up a fancy shell prompt. For this, we will be using https://starship.rs/. We can follow the instructions on their site, but we just need to modify them slightly from using bash to using Zsh. The first thing we need to do is install curl if it’s not already installed on the system, since it’s used in their installation steps.
sudo apt install curlcurl -fsSL https://starship.rs/install.sh | zshAfter https://starship.rs/ installs, it will instruct us to add the following line to the end of the ~/.zshrc.
eval "$(starship init zsh)"While we are in the ~/.zshrc, let’s add a simple alias to help us reload the Zsh configuration easier.
alias rl='source ~/.zshrc'The ~/.zshrc file should now look like this
# Set ZSH options# Options details:# http://zsh.sourceforge.net/Doc/Release/Options.html#index-HISTIGNOREALLDUPS# http://zsh.sourceforge.net/Doc/Release/Options.html#index-SHAREHISTORY
setopt histignorealldups sharehistory
# Keep 1000 lines of history within the shell and save it to ~/.zsh_history:HISTSIZE=1000SAVEHIST=1000HISTFILE=~/.zsh_history
alias rl='source ~/.zshrc'
eval "$(starship init zsh)"
Now, for the first and last time, run the following command to reload our Zsh configuration.
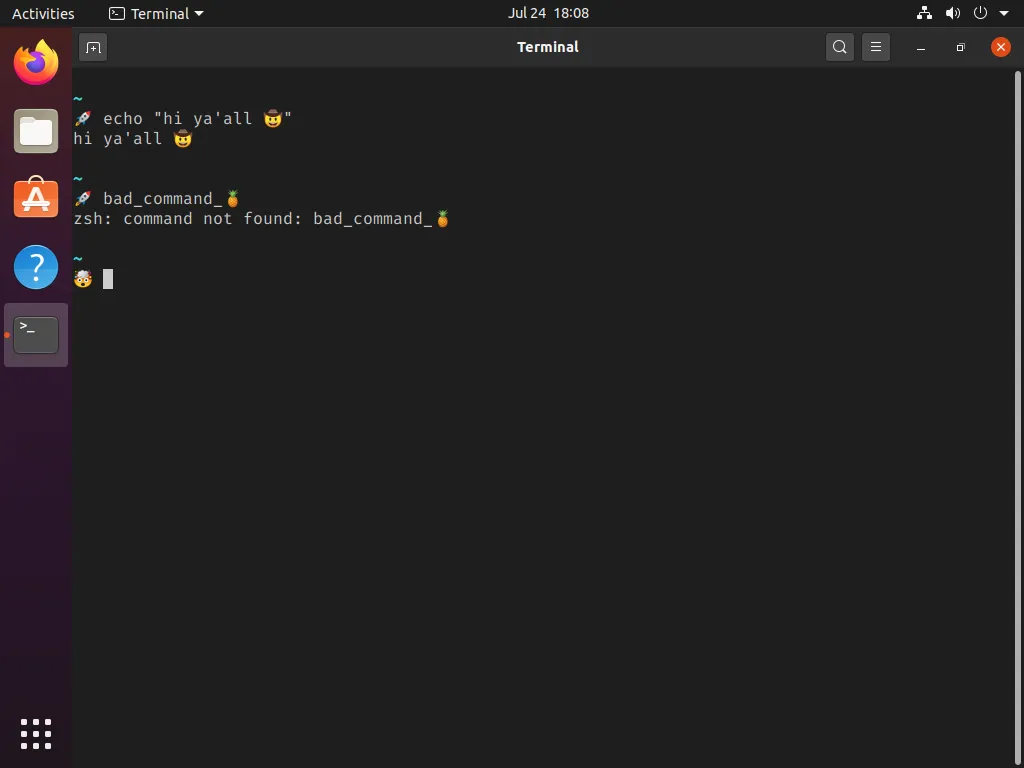
source ~/.zshrcAfter this, we can just run the rl command to reload our configuration. Now our shell should reload and look like this:
Finally, we are getting somewhere. The colors are nice, the font is easier to read, and we have some rad capabilities around customizing our shell prompt. Now let’s configure https://starship.rs/ a little to have some fun with it. They have a ton of options, but for now, let’s just set some basic prompt icons.
Create this file ~/.config/starship.toml
touch ~/.config/starship.tomlThen add the following
[character]symbol = "🚀"error_symbol = "🤯"use_symbol_for_status = trueNow let’s run rl to reload our shell again.
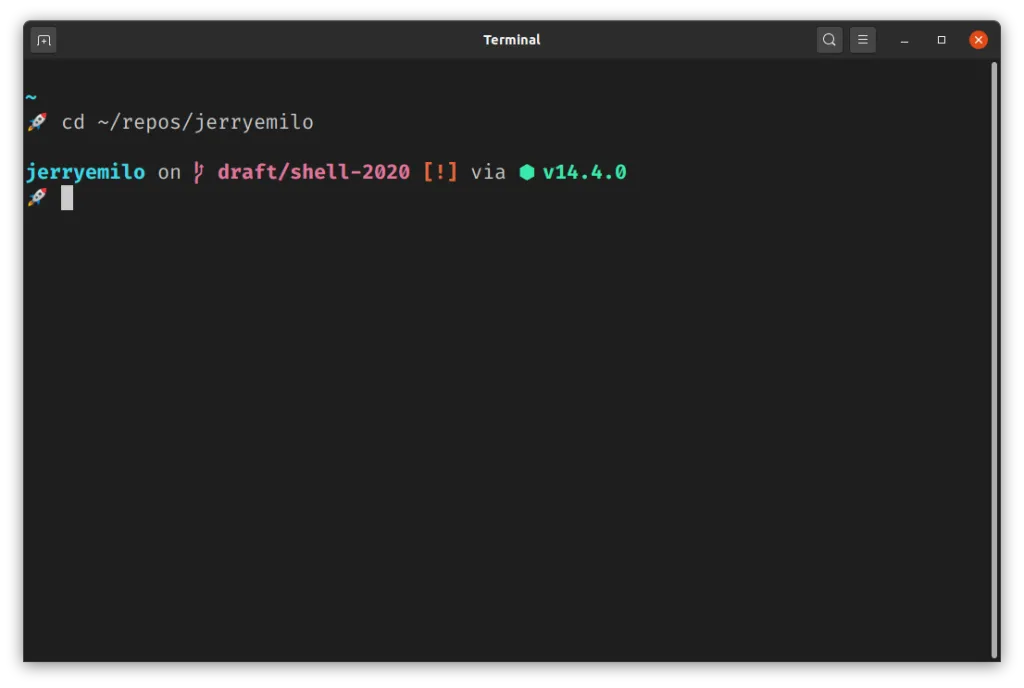
rlIt should appear as follows.
For example, if you navigate to this projects’ directory where git is being used.
Get injected
Now that we have a fancy prompt, let’s add some plugin support. I’ve always been a big fan of https://ohmyz.sh. It has an extensive plugin library and huge community support. However, it’s heavy and I came across this project http://getantibody.github.io/. It’s essentially a plugin manager who is much lighter weight and supports loading ohmyzsh plugins. It’s super easy to set up.
Follow the instructions on their site by executing the following in your shell
curl -sfL git.io/antibody | sh -s - -b /usr/local/binDepending on your permission, you may have to run sudo on the piped command
url -sfL git.io/antibody | sudo sh -s - -b /usr/local/binThen, once it’s installed, it has a few ways to set up plugins. The method we will use is creating a file called ~/.zsh_plugins.txtThen,
For our purposes, let’s just add the following
# The creaters plugin for creating dirs https://github.com/caarlos0/zsh-mkccaarlos0/zsh-mkc# zsh completions https://github.com/zsh-users/zsh-completionszsh-users/zsh-completionsNotice they are just GitHub repositories? Pretty awesome huh. Which reminds me, we will also need to install git if it’s not already installed on the box.
sudo apt install gitAnyway, our ~/.zshrc should now look like this
# Set ZSH options# Options details:# http://zsh.sourceforge.net/Doc/Release/Options.html#index-HISTIGNOREALLDUPS# http://zsh.sourceforge.net/Doc/Release/Options.html#index-SHAREHISTORY
setopt histignorealldups sharehistory
# Keep 1000 lines of history within the shell and save it to ~/.zsh_history:HISTSIZE=1000SAVEHIST=1000HISTFILE=~/.zsh_history# Load antibodysource <(antibody init)antibody bundle < ~/.zsh_plugins.txt
# aliasesalias rl='source ~/.zshrc'
# blast into outer spaceeval "$(starship init zsh)"
Now let’s run our rl alias, which will reload everything. We should be good to go with Zsh, rad fonts, a delicious theme, a fancy shell prompt, and a lightweight powerful plugin manager. Enjoy