2023 Terminal Setup
1/15/2023

💻 The Terminal
Ah, the terminal! It’s 2023, and time for an update. Over the years, I’ve been refining my terminal, adjusting to my ever-changing requirements. Now, I’ve reached a setup that’s minimalistic, efficient, and user-friendly. So, tag along as we delve into this refreshed guide for establishing a terminal that’s aesthetically pleasing and functionality-rich.
🗺️️ Developer Environment: The Blueprint
Just a heads-up, this write-up was written specifically for macOS Ventura. Nonetheless, this configuration should mostly work with most Linux and macOS flavors. Ensure to scrutinize the instructions from the projects utilized during the setup process.
🚀 Step-by-Step Guide
⌨️ Shell
I’m still a fan of ZSH. It’s been my faithful companion for years, and it continues to deliver. I’ve explored a few of the recent Rust alternatives, but none have truly resonated, since I don’t really require the additional features or accelerated speed. My configuration remains largely unchanged, although I’ve streamlined it slightly. While iTerm2 installation is quite popular, I’ve been comfortably utilizing the default terminal for some time, and it’s been performing to my needs.
🍺 Installing Homebrew
Our journey begins with the installation of Homebrew, an indispensable package manager. Setting it up is simple; you can consult their website for instructions. For your convenience, I’ve included the steps below.
/bin/bash -c "$(curl -fsSL https://raw.githubusercontent.com/Homebrew/install/master/install.sh)"🧬 Configuring ~/.zshrc
Create and open ~/.zshrc. We can tweak it using the following baseline. For now, this just enables some basic shell history.
# Set ZSH options# Options details:# http://zsh.sourceforge.net/Doc/Release/Options.html#index-HISTIGNOREALLDUPS# http://zsh.sourceforge.net/Doc/Release/Options.html#index-SHAREHISTORYsetopt histignorealldups sharehistory# Retain 1000 lines of history within the shell and save it to ~/.zsh_history:HISTSIZE=1000SAVEHIST=1000HISTFILE=~/.zsh_history🖋️ Giving Our Font a Facelift
Next, let’s equip our setup with a new font that supports glyphs (icons). Head over to https://www.nerdfonts.com and browse through their fonts. Please have no hesitation to select one or follow my suggestion of “FiraCode Nerd Font”. We can install this font using Homebrew.
You can add any desired fonts with Homebrew, courtesy of the homebrew-cask-fonts project.
Tap with this command in your terminal
brew tap homebrew/cask-fontsInstall the font by typing
brew install --cask font-fira-code-nerd-fontWith the font installed, we’re ready to roll. We can assign the font during our subsequent steps.
🎨 Giving Your Theme a Splash of Color
With our new, chic font installed, it’s time to infuse some vibrancy into our terminal. Head over to https://github.com/lysyi3m/macos-terminal-themes, select a theme, and adhere to their installation steps. Once the theme is installed, we can designate it as the default theme in our terminal preferences. Don’t forget to select the font we installed earlier. I’m currently utilizing the “VS Code Dark Plus” theme.
An additional customization I enjoy is modifying the window title. To do so, we can open the terminal preferences and adjust the window title to “Terminal” or any name of your choosing.
🚀 Prepping for a Journey to Outer Space
Now that we’ve got a captivating theme and font in place, we’re ready to set up a snazzy shell prompt. For this, we’ll be employing https://starship.rs/. We can abide by the instructions on their site or continue utilizing Homebrew to keep the ball rolling.
brew install starshipUpon the successful installation of https://starship.rs/, it will prompt us to append the following line at the end of the ~/.zshrc.
eval "$(starship init zsh)"While we’re in the ~/.zshrc, let’s introduce a simple alias to facilitate reloading of the Zsh configuration.
alias rl='source ~/.zshrc'Your ~/.zshrc file should now resemble this:
# Set ZSH options# Options details:# http://zsh.sourceforge.net/Doc/Release/Options.html#index-HISTIGNOREALLDUPS# http://zsh.sourceforge.net/Doc/Release/Options.html#index-SHAREHISTORYsetopt histignorealldups sharehistory# Retain 1000 lines of history within the shell and save it to ~/.zsh_history:HISTSIZE=1000SAVEHIST=1000HISTFILE=~/.zsh_historyalias rl='source ~/.zshrc'eval "$(starship init zsh)"For the first and last time, execute the following command to reload our Zsh configuration.
source ~/.zshrcThis reflects my current configuration, but you are welcome to peruse their documentation and customize it to your preference by altering the ~/.config/starship.toml file.
# Inserts a blank line between shell promptsadd_newline = true# Replace the "❯" symbol in the prompt with "➜"[character] # The name of the module we are configuring is "character"success_symbol = '🚀' # Symbol to display for successful operationserror_symbol = "🤯" # Symbol to display for errors[git_commit]commit_hash_length = 4 # Number of characters to display for the commit hashtag_symbol = "🔖 " # Symbol to display for tags[git_status]conflicted = "🏳" # Symbol to display for conflicted filesahead = "🏎💨" # Symbol to display for ahead statusbehind = "😰" # Symbol to display for behind statusdiverged = "😵" # Symbol to display for diverged statusup_to_date = "👍" # Symbol to display for up-to-date statusuntracked = "🛤️" # Symbol to display for untracked filesstashed = "📦" # Symbol to display for stashed changesmodified = "📝" # Symbol to display for modified filesstaged = '[++\($count\)](green)' # Symbol to display for staged files, including the count of staged filesrenamed = "👅" # Symbol to display for renamed filesdeleted = "🗑" # Symbol to display for deleted files# Disable the package module, hiding it from the prompt completely[package]disabled = truescan_timeout = 3000 # Timeout for package scanning in millisecondsNow let’s run our rl alias, which will reload everything. We should be good to go with Zsh, rad fonts, a delicious theme, and a fancy shell prompt. Enjoy
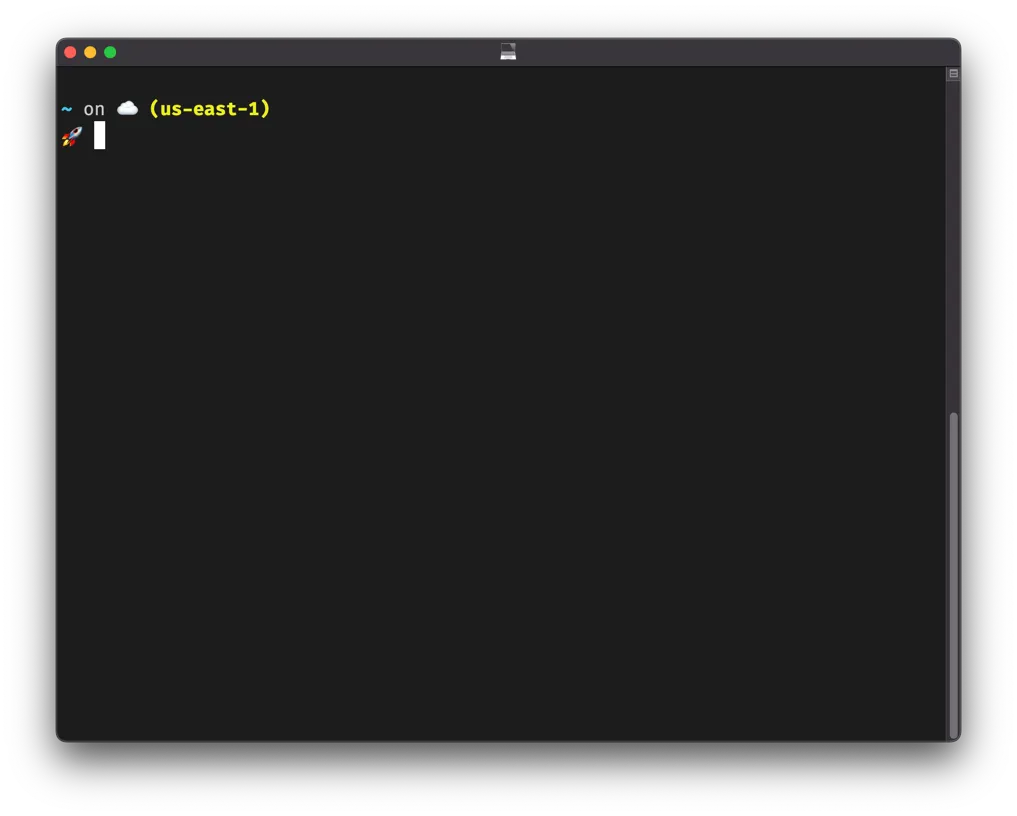
rlAfter this, we can just run the rl alias command added earlier to reload our configuration. Now our shell should reload and look like this:
Finally, we are getting somewhere. The colors are nice, the font is easier to read, and we have some rad capabilities around customizing our shell prompt. I’d check out https://starship.rs/ a little to find out what you can do. For now, let’s just leave it as is and move on.
It should look like this…
🛠️ Additional Tools
Here are some of the tools I use daily. Follow the links to learn more about them and decide if they’re right for you. I will keep this section updated when I have more daily drivers worth sharing.